Hat product photography tips: photographing great hat images
As a professional photographer, I’m always looking for innovative techniques that can help me capture stunning product images. Recently, I’ve been delving into the world of hat photography – an area that may not immediately spring to mind when you think of cutting edge innovation, but believe me, there’s more to it than meets the eye.
Perfecting the art of photographing hats involves understanding how to utilize props and mannequins effectively, getting creative with lighting and composition, and showcasing each unique design in a way that truly captures its essence.
In this article, we’ll dive deep into the technical aspects of hat product photography while exploring some exciting new approaches to make your images stand out from the crowd. Whether you’re an amateur photographer looking to up your game or a seasoned pro wanting to expand your skillset further, these tips will elevate your hat photography prowess.
Let’s explore techniques for capturing great hat images that impress clients and customers!
Essential product photography tips for perfecting hat photography
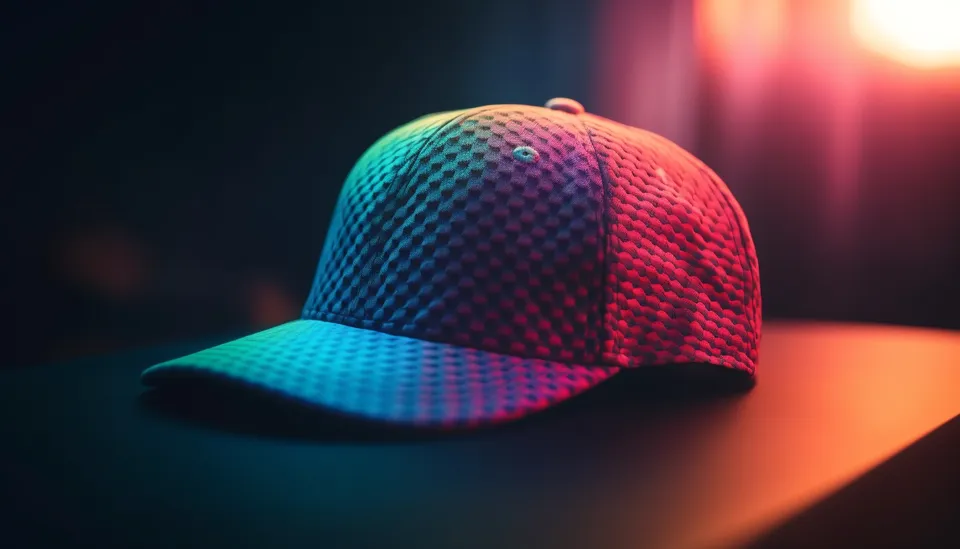
Capturing the perfect shot of your stylish headwear doesn’t have to be complicated. I’ve picked up several hat photography tips and tricks that make it easy to create stunning DIY product photography for eCommerce. Whether you’re looking to shoot hat images for your online store or improve your portrait photography skills, this comprehensive photography guide is filled with valuable insights and suggestions. First, let’s discuss some key components of successful hat product images. The most crucial aspect of any product photography is lighting. When photographing hats, it’s crucial to use soft, diffused light sources to illuminate the subject while minimizing harsh shadows evenly. Consider investing in a quality lightbox or using natural window light paired with reflectors to achieve this effect. Additionally, pay close attention to details like composition and framing. Experiment with various angles and distances until you find the perfect perspective that showcases each hat’s unique features and texture. By following these simple yet effective hat photography tips, you’ll be well on your way to perfecting the art of capturing eye catching headwear images.
Enhancing hat product images with props and mannequins
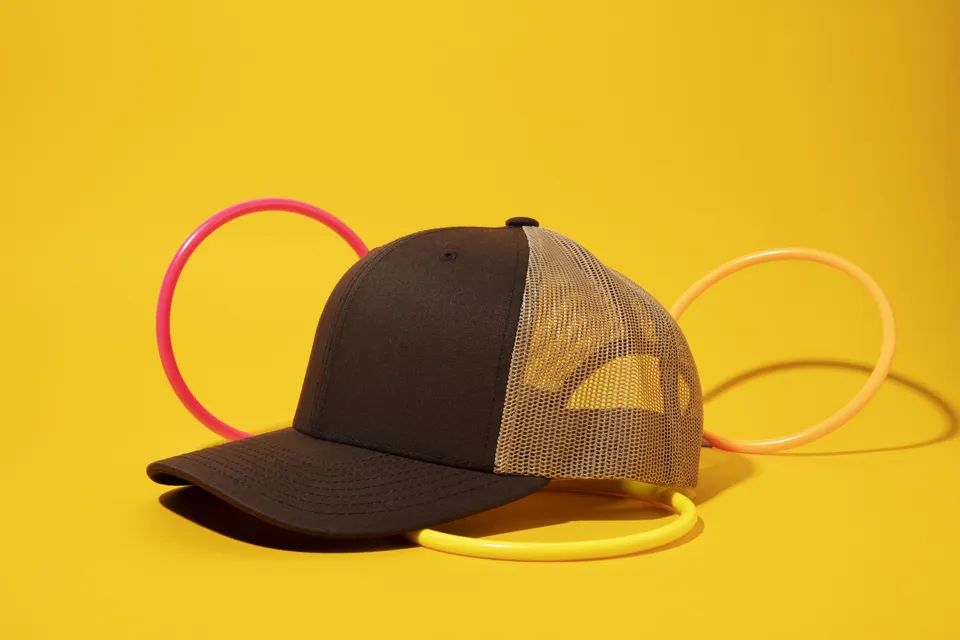
Did you know that props and mannequins in your shots can boost sales by up to 50%? As a hat product photography expert, I’ve discovered some valuable tips to help you capture the best possible images. By utilizing props and mannequins, you add visual interest to your photographs and provide customers with a better understanding of how the hat will look when worn. This is crucial for online shoppers who cannot try on the product before purchasing. Selecting the right mannequin head or ghost mannequin is essential for effectively showcasing your hats. A ghost or invisible mannequin gives the illusion of someone wearing the product without showing their face or body. This focuses on the hat while providing context for how it fits on a person’s head. Using a regular mannequin head may also be suitable to showcase additional details like interior lining or adjustability features. Regarding props, consider items that complement your hats’ style and purpose – from vintage books for fedoras to sports equipment for baseball caps. Remember not to overdo it with too many props, as they might distract from the main subject, which is your fabulous hats! Lastly, pay attention to lighting and angles when photographing with props and mannequins and experiment until you find what works best for each unique product photo scenario.
Tips for capturing stunning images of hats: photography techniques
Here are some tried and tested techniques for photographing hats and help you create stunning hat images:
- Focus on lighting.
- Utilize natural light - harness the power of sunlight by positioning your hats near a large window or shooting outdoors during the golden hour. This soft, diffused light will showcase the texture and details of your hats and caps while minimizing harsh shadows.
- Experiment with artificial lighting - if you don’t have abundant natural light, invest in a quality lightbox or softbox to illuminate your scene evenly. Play around with different angles and intensities until you achieve the desired effect. Get creative with composition:
- Incorporate props and models - give context to your hat images by adding relevant props or having models wear them. This approach can evoke emotion from potential buyers by allowing them to imagine themselves using the product.
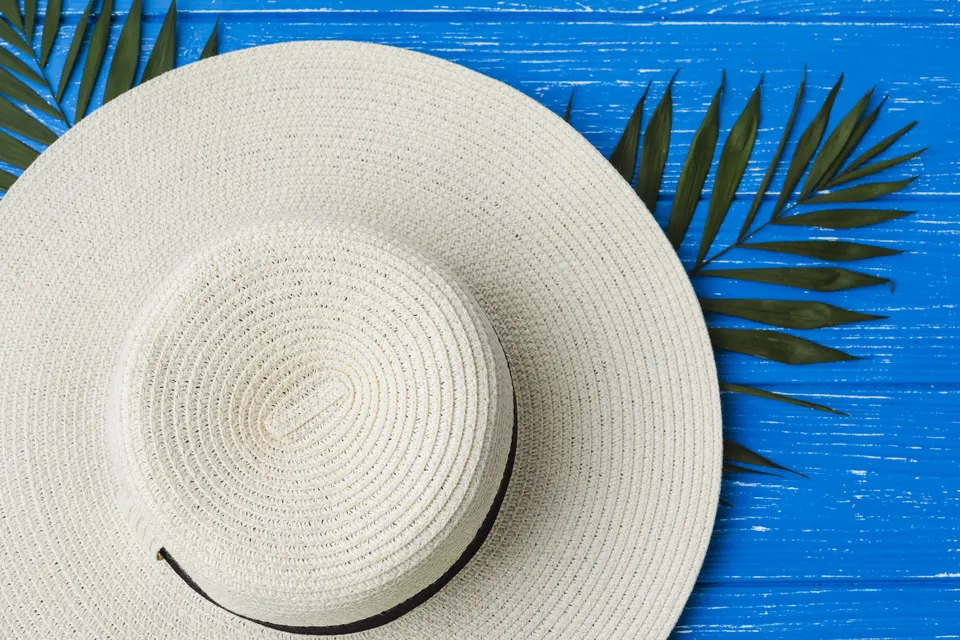
- Consider unique perspectives - step outside traditional front facing shots and experiment with angles such as bird’s eye views or low angle shots emphasizing specific design elements.
As a product photography guide for beginners, shooting hat products and paying attention to post processing is essential. Image editing software like Adobe Lightroom or Photoshop helps refine colors, adjust exposure levels, remove unwanted blemishes, and more, ultimately giving life to your photographs. Alternatively, you can outsource this work to an online image editing service provider like Picarm.
Lighting and composition are key elements in hat photography
Getting lighting and composition right is crucial for creating striking, memorable shots that leave a lasting impression. As a professional photographer, I always emphasize the importance of these two elements in my hat photography. To ensure the focus is on the hat, using a simple background that doesn’t detract from your subject is essential. Selecting the correct lighting setup will help bring out the texture and shape of the hat while maintaining accurate colors through proper white balance settings. Remember that achieving great photography is accessible even on a budget as you can create stunning images using affordable gear as long as you understand how to manipulate light effectively. When setting up your shot, pay close attention to how the light interacts with the hat’s shape. This should guide your overall composition. Use softboxes or diffusers to soften harsh shadows and prevent distracting elements from taking away from your subject. A key aspect in ensuring that your hat looks its best is holding its shape throughout shooting. If necessary, stuff tissue paper or foam inside to maintain form and structure at multiple angles and positions. Finally, don’t be afraid to experiment with different angles and focal lengths. Sometimes, stepping outside conventional approaches can produce innovative results. With careful attention to lighting and composition, even novice photographers can create captivating images sure to leave their audience impressed.
How to showcase your hats with impact
Capturing the essence of your stunning headwear collection is crucial for making a powerful impact on potential buyers - and we’ve got just the advice you need to make it happen! With these hat photography tips, you can showcase hats in a way that highlights their unique features, grabs attention, and ultimately increases sales. From lighting and composition to choosing suitable models and backdrops, every aspect of your hat photoshoot should focus on producing high quality hat photos that truly represent the style and quality of your brand. To ensure that your hat images stand out from the competition, consider incorporating these four critical strategies into your product photography process:
- Emphasize detail - use close ups and macro lenses to capture intricate details like stitching, patterns, or logos. This will help potential buyers appreciate the craftsmanship involved in creating each piece.
- Experiment with angles - shoot from various angles to give viewers different perspectives of your hats, including front views, side views, or even overhead shots. You’re showcasing how versatile and adaptable each hat can be by offering multiple viewpoints.
- Choose complementary backgrounds - select backdrops that enhance the look of each hat without overpowering it. Go for neutral tones or simple textures that direct attention to the hat itself instead of competing with it for visual dominance.
- Create consistency - maintain a consistent style across all images using similar lighting setups, model poses, and editing techniques. This will create a cohesive look for your entire collection and make it easier for customers to browse through different hats while still appreciating their individuality. By applying these expert tips when photographing hats for product listings or promotional material, you can effectively showcase each piece’s unique design elements while making a lasting impression on potential customers, all while satisfying their desire for innovation in fashion accessories.
Choosing the correct mannequin for your hat product photography
The mannequin you select can significantly influence how your hats look in photographs and determine whether you can create a three dimensional invisible mannequin effect that highlights each piece’s unique features and design. Ultimately, selecting an appropriate head mannequin contributes to photographing great hat images that capture the attention of potential customers. When choosing the correct mannequin for your hat product photography, consider factors such as the appearance of the models’ faces and if they complement the hat style you want to showcase. A well-matched head mannequin will enhance your photoshoot and enable you to create an invisible mannequin effect that makes your hat stand out from competitors.
Additionally, it’s essential to select a mannequin made from durable materials designed for frequent use during photoshoots without showing signs of wear or damage over time. By carefully considering these factors when selecting a head mannequin, you’ll be well on your way to creating captivating images that effectively highlight your stylish and innovative hat designs.
Styling and presentation tips for hat product images
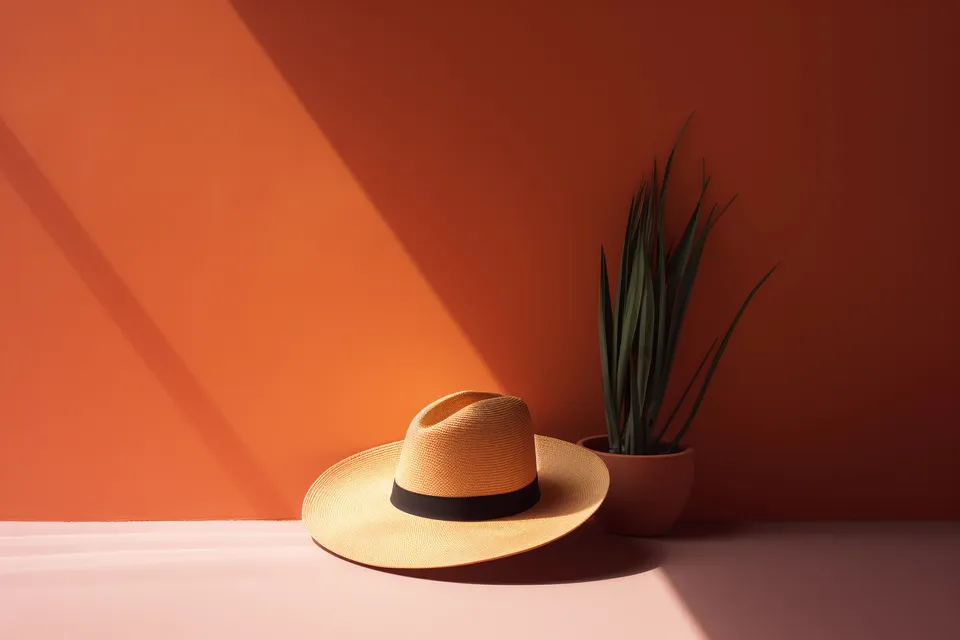
Now that you’ve got the perfect mannequin let’s dive into some styling and presentation techniques to make your hat photos stand out. The first step in creating captivating hat product photography is to consider the overall scene in which your hats will be displayed. One popular method is using a coat rack or pinboard as the backdrop for your shoot, allowing you to showcase multiple hats at once and create a cohesive theme for your ecommerce images. In addition, incorporating props such as sunglasses, scarves, or even miniature elements like small plants or figurines can add depth and interest to your photos. Be sure not to overdo it with props, and remember that the focus should remain on the hats. Consider how different hat materials may require unique approaches when styling individual hats. For example, baseball caps made of fabric may need gentle steaming before shooting if they have any wrinkles from storage or shipping. On the other hand, straw or woven hats can benefit from subtle shaping adjustments using tissue paper stuffed inside the crown area to ensure they maintain their preferred form during shooting. Don’t forget about lighting either. Experiment with different angles of natural light (preferably diffused through a softbox) or studio lighting setups until you find one that effectively highlights your hat’s design features and its material texture. With these presentation tips in mind, you’ll have all the tools to capture eye catching hat product photography that entices potential customers and sell more of them online.
A comprehensive guide to photographing hats
To create high quality hat product images, it’s essential to follow the basics to enhance your ecommerce store’s visual appeal and showcase each piece’s intricate details and craftsmanship. From selecting the right photography props and backdrops to adjusting camera settings such as ISO, these tips will help you capture perfect pictures every time.
- Choose appropriate photography props - using creative props like mannequin heads or a coat rack can make a significant difference in presenting hats effectively. This allows potential customers to visualize how the hat would look when worn or displayed.
- Photo editing is crucial - even with great lighting and composition, photo editing is necessary for creating polished product images that stand out from the competition. Use photo editing software like Adobe Lightroom or Photoshop to retouch, adjust colors, remove blemishes, and correct imperfections. Alternatively, outsource this work to us.
- Experiment with various angles - capturing hats from multiple angles gives buyers a better understanding of their shape, size, and overall design. Experiment with different perspectives including front, side, and top down views and observe how this affects shadows and reflections.
- Pay attention to camera settings - adjusting your camera’s ISO setting ensures proper exposure levels for crisp images without noise or graininess. It’s essential to find the right balance by increasing ISO for darker environments while avoiding overexposure in brighter settings. By following these expert photography tips when capturing hats for your ecommerce store, you’ll undoubtedly create stunning product images that grab attention and inspire purchases from potential customers worldwide.
Expert tips and tricks for perfecting product photography of hats
One of the most crucial tips to create stunning images for ecommerce is understanding how to hold the hat in a way that highlights its unique features. Whether a wide brimmed sunhat or a classic cowboy hat, a tripod, and an adjustable clamp system can help you achieve the perfect angle while keeping your hands free.
Photographing different types of products can require distinct approaches, but one thing remains constant - lighting is critical. Natural light is often best when photographing hats, providing soft and even illumination without harsh shadows. Position your hat near a large window or use diffused light from an external source if necessary. Experiment with various angles until you find the perfect balance between highlighting your hat’s brim, crown, and other unique details while avoiding unwanted glare on reflective materials such as metal buckles or sequins.
Remember, photography is one part science and one part art, so don’t be afraid to break some rules along the way! With practice and these expert tips under your belt, you’ll soon be capturing great images that make even ordinary hats look extraordinary.
Achieving success in hat photography: tips for going from amateur to pro
One crucial aspect of hat photography is ensuring each hat looks flawless and wrinkle free. Since hats are made of different materials, storing cleaned hats properly before shooting is essential. Use a coat rack or designated storage space to prevent any blemishes. When photographing, ensure the hat is free of price tags or other distractions. If you encounter a minor imperfection during post production, don’t hesitate to fix it digitally – just be careful not to over edit and maintain the hat’s authenticity. Another factor that can improve your hat photography skills is paying close attention to composition and lighting. When shooting, try placing the hat as close to your light source as possible without causing reflections or hotspots on its surface. This technique will create dimension and depth in your images while highlighting intricate details that may be overlooked. Also, keep up with current trends in product photography as innovative styles and techniques can give you an edge over competitors who stick with traditional methods. For instance, incorporating unique backgrounds or experimenting with various angles can make your images stand out.
Summary
Photographing hats might seem daunting initially, but you’ll get excellent results quickly with the proper techniques and tips. Remember to focus on lighting, composition, and styling to make your hat images stand out. Don’t be discouraged if your initial attempts are imperfect, as practice makes perfect. Keep experimenting with different approaches and you’ll soon capture stunning hat product images like a pro.
Hat photography guide FAQs
What is the purpose of a hat photography guide?
A hat photography guide provides tips, tricks, and techniques to capture and highlight the beauty of hats in different settings and for various purposes.
Do I need a professional camera to take good hat photos?
No, you only need a camera with decent image quality and the ability to adjust settings such as aperture, shutter speed, and ISO.
How important is lighting in hat photography?
Lighting is crucial in hat photography as it can make or break the final image. Using natural light from the left and reflectors or white foam boards to bounce light onto the model’s face.
Can I use white foam boards to change the background of the hat photo?
You can use a pinboard and hang the hat on white foam to create a seamless background free from distractions and imperfections.
Should the hat always be photographed on a mannequin?
No, while a mannequin can help showcase the shape and structure of the hat, it is not always necessary. You can also use a coat rack and place the hat slightly in front to capture the details and shape of the hat.
What kind of settings should be adjusted for hat photography?
You should adjust the aperture based on the size of the hat and how much of it you want to be in focus. You should also adjust the shutter speed and ISO based on the available light to prevent over or underexposure.
Do I need to edit my hat photos?
While post production editing can take several hours, it can help enhance the final image and remove distractions and imperfections. Hence, editing your hat photos (or outsourcing this task to us) for better results is always a good idea.
Can I remove the mannequin from the photo in post production editing?
Yes, you can remove the mannequin in post production editing. You need to take two images - one with the mannequin and the other without the hat on the mannequin. Then these two images will be combined to remove the mannequin from the final image.
Should I test a few shots before the actual photo shoot?
Testing a few shots before the photo shoot is always recommended to ensure that the lighting, settings, and composition are appropriate.
How should I prepare the hats before the photoshoot?
The hats should be steamed or ironed to remove wrinkles or creases. You must also be careful while handling delicate hats to avoid damage.