Photograph glasses like a pro photographer for online stores
If you’ve ever tried photographing glasses for your online store, you know how challenging it can be. Reflections, smudges, and lighting make capturing that perfect shot almost impossible. But don’t worry - with the proper techniques and a little practice, and you’ll be snapping professional-quality photos in no time.
To help you on your journey to becoming a glasses photography pro, we’ve compiled this guide filled with essential techniques and top tips. We will delve into everything from adequate reflection to understanding backlighting. You’ll also learn about the impact of black backgrounds on your photos and the importance of avoiding smudges for precise shots.
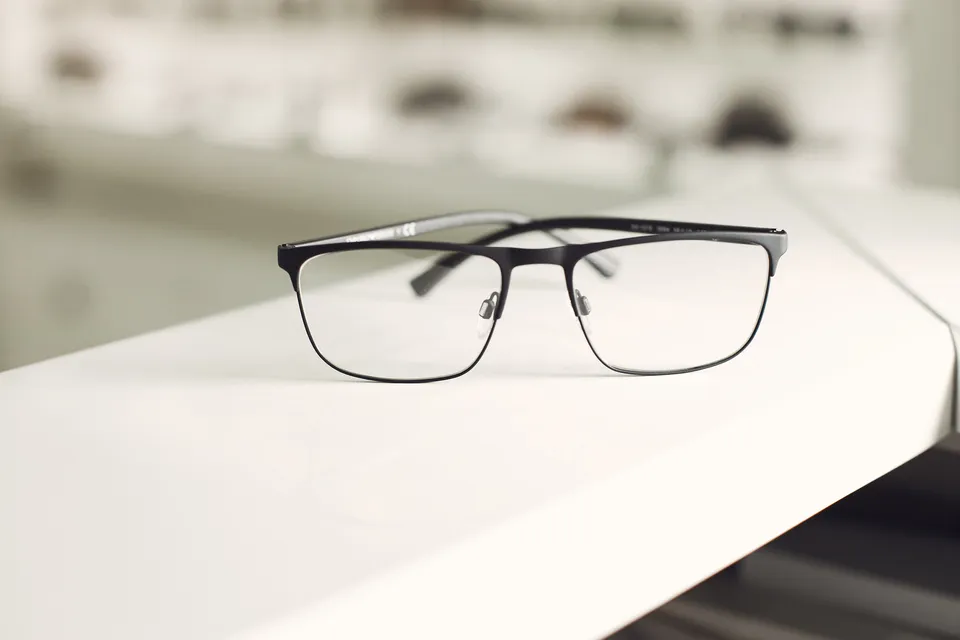
Essential glasses photography techniques
Surprisingly, perfecting glasses photography isn’t just about snapping away at shiny spectacles. Learning techniques like proper lighting and positioning is essential to make those lenses pop in your online store. It’s crucial to understand that photographing glass objects takes longer than traditional product photography due to the reflective nature of the material. You need to take that extra time to set up your lighting correctly, as using light effectively can eliminate reflections and help highlight the unique aspects of each pair of glasses or sunglasses. Your setup does matter when it comes to photographing reflective items like glasses. A black background setup can be a game changer, helping you control reflections better and highlight the details in the frames and lenses when photographing sunglasses and glasses. Postproduction is also critical as careful editing can enhance your photos significantly for your online store. Investing in a proper lighting setup, positioning, and postproduction will make your products stand out in today’s competitive online marketplace.
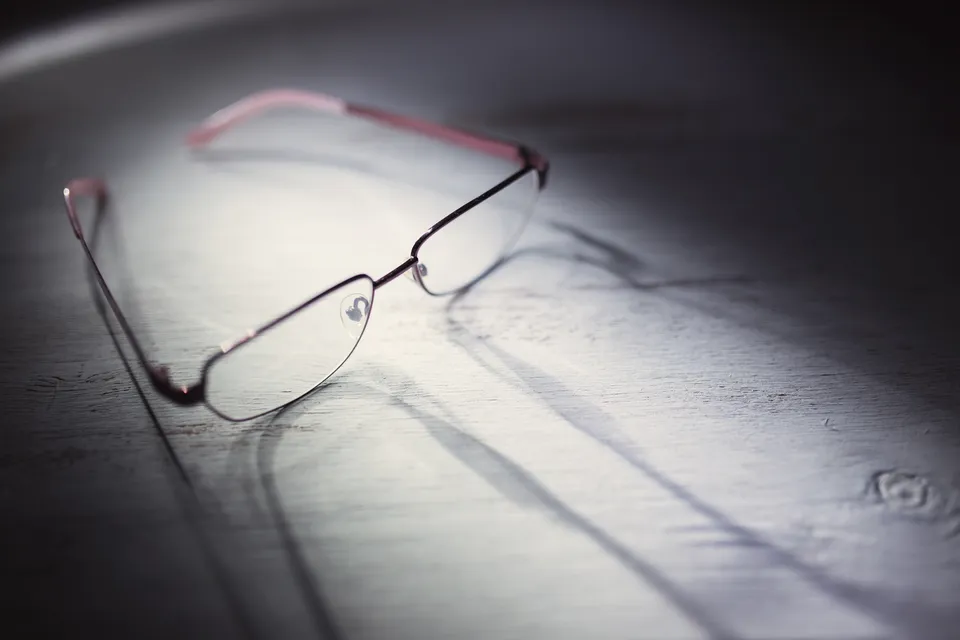
Effective use of reflection in glasses photography
Harnessing reflections effectively can elevate your eyewear shots, adding depth and dynamism that captivates potential customers. To photograph glasses like a pro photographer for online stores, you need to understand the effective use of reflection in glasses photography. Reflections are a double-edged sword. They can either make or break your shot. It’s all about how you manipulate them during your photo shoot. Use light when it hits the glass edges to create beautiful effects that draw the eye. Setting up your lighting correctly is crucial because it determines the intensity and direction of reflections. Consider avoiding reflections, especially when they become too distracting or obscure essential details of the eyewear. However, you may create reflections intentionally for an artistic effect that sets your product apart from others on the market. Post-processing also plays a significant role, as you can enhance or minimize reflections during editing to achieve your desired look. Keep experimenting with these techniques until you find what works best for each pair of glasses you shoot.
Incorporating product photography tips into glasses photography
Incorporating product photography tips into eyewear shots can be challenging. It’s an art that demands creativity, precision, and a keen eye for detail. You must blend your technical skills with your passion for innovation to photograph glasses like a pro photographer for online stores. Every edge of the glass is a chance to capture an extraordinary image that will captivate your audience and improve your glass photography. It’s all about exploring different perspectives, playing with light, experimenting with shutter speed, and always keeping creative glass photography in mind. Here are four practical tips to help you unleash your potential.
- Side lighting - this technique illuminates one side of the glass while leaving the other in shadow, creating depth and highlighting intricate details.
- Shutter speed - slowing down or speeding up shutter speed can create dramatic effects in images made of glass.
- Reflections - add intrigue to photos by excitingly mirroring or distorting elements within the scene.
- Composition - don’t limit yourself to traditional framing methods. Think outside the box and try unconventional angles or backgrounds.
You’re not simply taking photographs by incorporating these product tips into glasses photography. You’re crafting stories through lenses and frames.
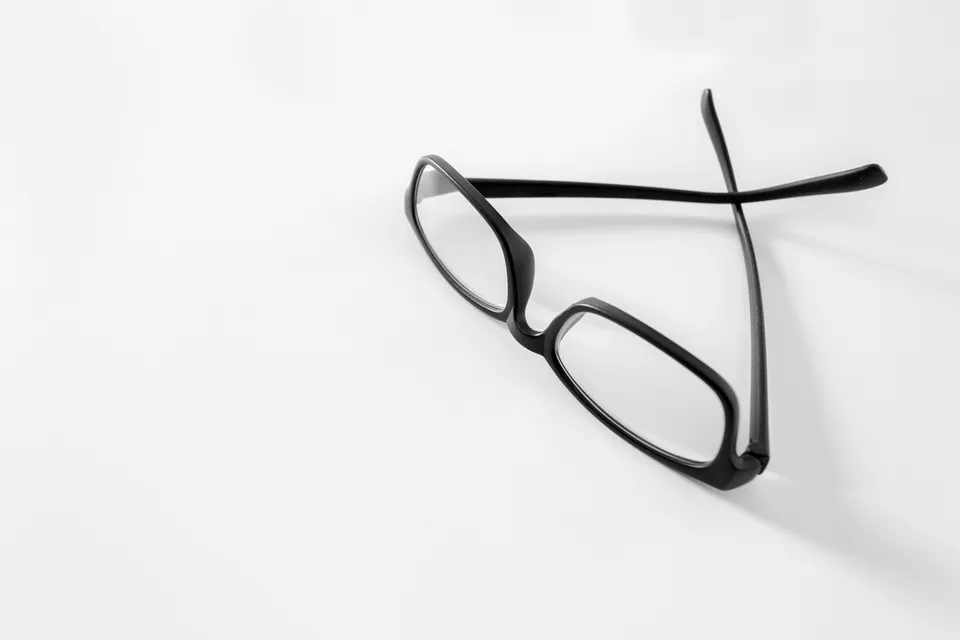
The impact of a black background in glasses photography
Using a black background in your eyewear shots can dramatically transform them into striking masterpieces, with the stark contrast symbolizing clarity and focus that’s immediately drawn to the frames. Choosing a black background for your photographs is about aesthetics and practicality. A dark backdrop absorbs light, reducing unwanted reflections and helping you have better control during your shoot. It allows you to define the shape of your glasses more accurately to make every detail visible. When photographing glasses, remember that they are inherently reflective objects. To tackle this challenge, consider strategically adjusting your light source or using a polarizing lens to minimize glare and maximize detail. Be patient; capturing that perfect shot will probably take multiple tries and fine-tuning for positioning and lighting adjustments.
How to photograph glass like a pro
Taking professional grade shots of glass items is easier than it seems. You must understand the art of manipulating light and reflections. It’s all about playing with white background, backlight, and reflections. You can experiment with different setups until you find the best for your item. A softbox may be helpful if you’re dealing with a very shiny or reflective surface. When setting up your camera, remember that ISO is crucial. Too high, and your photos could end up grainy. Too low, and they might not be bright enough. When photographing glassware, pay attention to diffusion. This can help soften harsh lights and reduce unwanted reflection on the glass surface. Carefully consider the placement of your lights, as correct placement can significantly affect how well-lit your product appears. Remember to use a tripod. Tripods help stabilize your camera for those sharply focused shots. Lastly, don’t be afraid to play around with bright lights. Sometimes, more brilliant is better when photographing transparent objects like glasses.
Importance of light source in glasses photography
You should definitely consider using softboxes. These are big diffused lights that help reduce harsh shadows and highlight details on glossy surfaces like glasses. When using diffused light, use twice more than you think is necessary. The importance of a great light source in glasses photography cannot be overstated - it’s just as critical as adjusting the brightness properly. You may consider using a quick burst of flash to add depth and dimension to your product shots, or light reflectors, which help bounce off unwanted shadows while enhancing illumination in desired areas. Remember, every effort you put into these lighting techniques brings you one step closer to photographing glasses like a pro photographer for online stores.
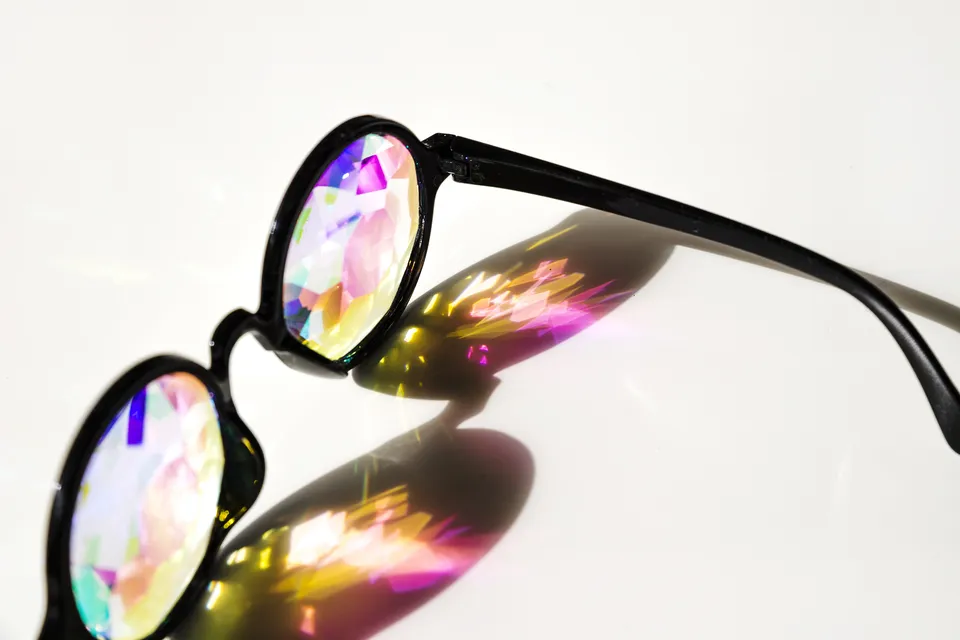
Understanding backlights in creative glass photography
Harnessing the backlight’s power can dramatically transform your creative glass photography, casting a radiant glow that illuminates every intricate detail and breathes life into your images. It’s crucial to understand how backlight works when you’re photographing reflective objects like glasses. It’s about creating the perfect balance between shadows and specular highlights. Remember, too much light from behind can wash out your image, while too little can leave it looking flat.
- Zoom - when using a zoom lens, adjust the focal length and distance to control how much backlight reaches your lens.
- Behind the glass - experiment with different angles of light hitting from behind to achieve unique effects.
- Glass plate - use a transparent or semi-transparent platform under your subject for an ethereal effect.
- White and black backgrounds - switch between these extremes to see how they affect reflections and contrast in your images.
- Reflective objects - understand that glasses are highly reflective surfaces. Controlling reflections is critical in producing stunning glassware shots.
While understanding backlight in creative glass photography is critical here, always monitor changes in natural lighting if you’re shooting outdoors, as this will significantly impact your final output.
Avoiding smudges for clear glasses in photography
Smudges are another crucial factor you need to consider when photographing glasses for online stores. Like how a fingerprint can lead to an arrest in crime dramas, fingerprints can be the villain in your glass photography. Smudges or fingerprints on your product can cause unsightly spots and blur, disrupting the precise image you aim for. Ensure your glasses are pristine and smudge free before pressing the shutter button. Now, let’s talk precision. Being precise in how you frame your shots is vital. Each shot should be meticulously planned and executed. Think of this as everything outside the frame doesn’t exist, and what matters most is capturing every detail without losing definition. The interplay between white and black also plays a significant role. High contrast can highlight your product effectively, but overdoing it might create unwanted reflections, which could detract from its appeal. Lastly, don’t forget about the shutter speed. Adjusting it properly will ensure sharp images while avoiding any motion blur if there’s movement involved in your shoot.
How to set up your lights when using a black background in glasses photography
The delicate dance between light and dark is your secret weapon for achieving stunning black background setups in eyewear imagery. It’s all about striking a balance between exposure and shadow that makes your glasses pop against the stark backdrop. To get a good result with this setup, you’ll need to adjust both the height and distance of your lights to achieve optimal contrast. Experiment until you find a configuration that illuminates your product without washing out its details or reflecting off its surfaces. For these shots, you can perfect lighting conditions using some simple tools. Use white cloth for diffusing harsh glares and cardboard to make minor adjustments in light directionality. Make sure you’re monitoring your results through trial and error, tweaking height and distance by small increments, and you’ll start to see improvements. This iterative process might seem tedious initially, but with patience and practice, it will become second nature allowing you to create captivating images to attract potential customers visiting online stores.
Summary
Are you ready to capture stunning glasses photos for your online store? With these pro tips and techniques, you’ll be shooting product photography like an expert. Remember, the key to success is practice. Start experimenting with lighting and backgrounds, and avoid those smudges for crystal-clear images that will make your glasses shine.
Improve your glass photography FAQs
How can I improve my glass photography?
You can use two main techniques to improve your glass photography, black background setup and creating a reflection. These techniques will help enhance the appearance of your glass objects and create visually appealing images.
What is a black background setup?
A black background setup is a way to photograph glass objects using a black background. This technique helps emphasize the glass’s transparency and create a dramatic effect. Using a black material or background, the glass object will stand out and catch the viewer’s attention.
How do I create a reflection in my glass photography?
Creating a reflection in your glass photography adds depth and interest to the image. You’ll need to use a reflective surface, such as a mirror or a piece of glass to create a reflection. By placing the glass object on the reflective surface, you’ll be able to capture both the object’s details and its reflection, resulting in a captivating photograph.
What are some tips for photographing glass objects?
Here are some tips for photographing glass objects.
- Use a black background setup or create a reflection.
- Use two pieces of lighting equipment for better control over the lighting.
- Pay attention to the depth of field to ensure the desired focus.
- Experiment with different angles and compositions.
- Consider using props or backgrounds that complement the glass object.
- Adjust the exposure settings to capture the details and colors accurately.
Can I use a black background setup for objects other than glass?
Absolutely! While a black background setup is commonly used for glass photography, it can also be effective for other objects. The technique helps create a clean and minimalist look, allowing the focus to be on the subject. Feel free to experiment with different objects and see how the black background setup enhances your images.
How important is lighting in glass photography?
Lighting plays a crucial role in glass photography. It helps illuminate the glass object, creates highlights, and defines its shape and texture. Using two lighting equipment, such as speed lights, can provide better control over the lighting and prevent unwanted reflections or glares on the glass surface.
Can I use natural light for glass photography?
While natural light can be used for glass photography, it may only sometimes provide the desired results. Natural light can be unpredictable, and its intensity and direction vary throughout the day. To ensure consistent lighting, especially when using a black background setup, it is recommended to use artificial lighting equipment.
What is post-production in glass photography?
Post-production refers to the editing and enhancements done to the photographs after they are taken. In glass photography, post-production can involve adjusting the brightness, contrast, and colors of the image to bring out the best qualities of the glass object. It is a way to fine-tune the image and achieve the desired result.
How can I get good results in post-production for glass photography?
To get good results in post-production for glass photography, you can focus on adjusting the image’s brightness, contrast, and colors. Please pay attention to the details and ensure the glass object stands out without losing its transparency. Experiment with different settings and find the right balance that showcases the beauty of the glass.
Are there any interactive viewing features I can use for glass photography?
Yes, you can utilize various interactive viewing features for glass photography. For example, you can create 360-degree rotations of the glass object, allowing viewers to explore it from different angles. Additionally, you can incorporate zoom functionalities that enable users to examine the intricate details of the glass up close. These interactive features enhance the viewer’s experience and provide a more immersive way of appreciating your glass photography.