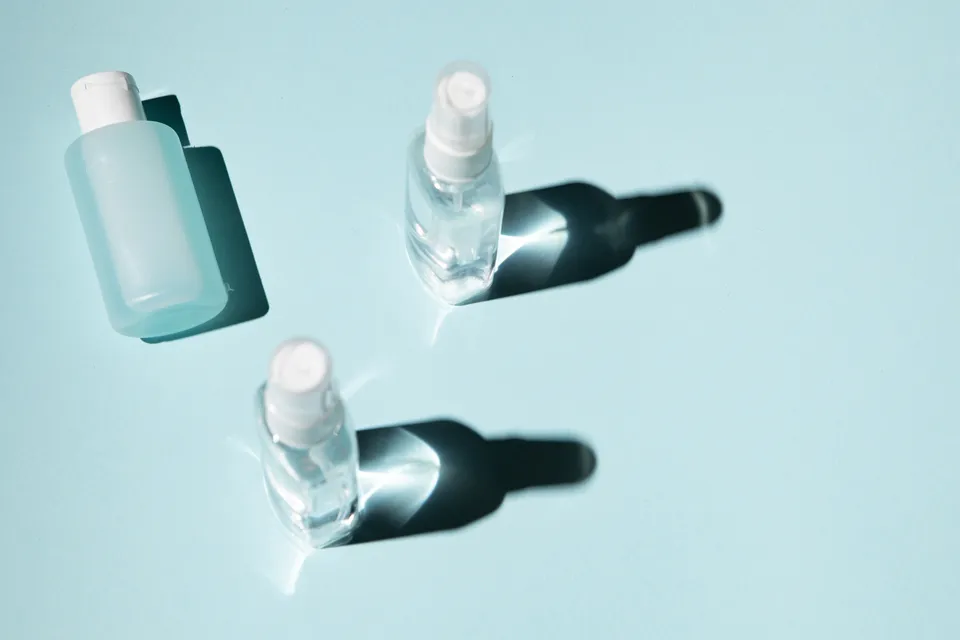
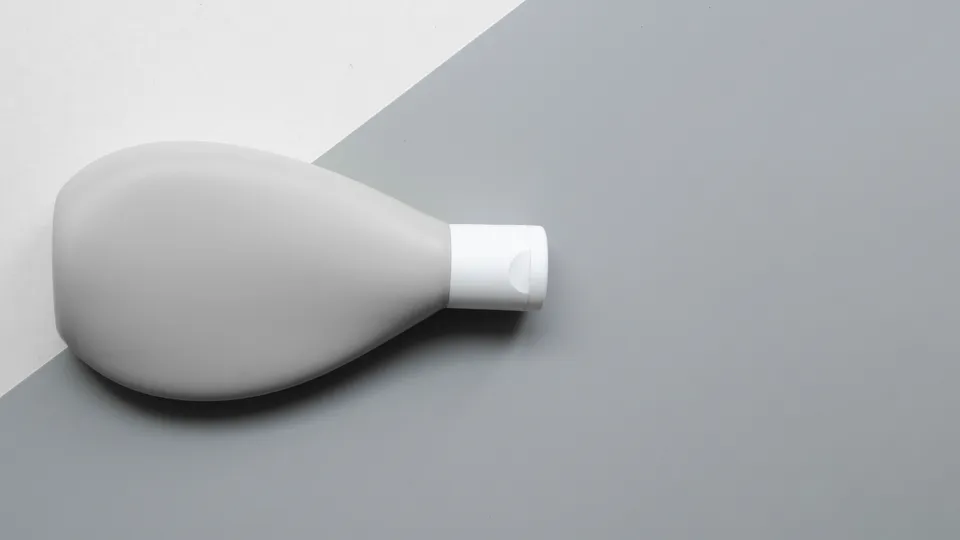
How to add a drop shadow effect in Photoshop
Adding a drop shadow effect in Photoshop is like adding the cherry to a delicious sundae. That subtle touch can elevate your design or image from ordinary to extraordinary, giving it depth and dimension with just a few clicks. As someone who has spent countless hours tinkering with Photoshop over the years, I’ve come to appreciate the power of this versatile tool, and I’m excited to share my knowledge with you. In this article, we’ll dive deep into drop shadows - exploring how to create them using layer styles, adjusting their settings for optimal results, and experimenting with advanced techniques such as custom brushes and combining effects. Whether you’re a seasoned pro or just starting in Photoshop, these tips will help you infuse your designs with an innovative flair that sets them apart.
Getting started with drop shadows in Photoshop
Diving into drop shadow techniques in Photoshop can elevate your designs. Getting started with a drop shadow in Photoshop is an exciting journey. You’ll learn how to add a drop shadow effect that brings your artwork to life. Using layer styles to create a drop shadow adds depth and dimension and allows you to edit and adjust the settings for the perfect look. With these responsive techniques for drop shadow in Photoshop at your fingertips, you can change the color of your drop shadow effect and even create a realistic shadow effect with custom brushes. In this detailed and creative tutorial, I’ll share my knowledge on using layers in Photoshop to craft engaging designs that spark innovation within our audience. As we explore the world of shadows together, we’ll uncover new ways to make our work stand out.
So join me as we dive into this beautiful world of light and darkness, mastering the art of creating stunning visuals that break boundaries through imaginative uses of shadows in our designs.

Step-by-step tutorial for how to add a drop shadow effect
You might be surprised to learn that around 90% of creative professionals use Adobe Photoshop, so let’s explore how you can enhance your images with a popular technique. Adding a drop shadow effect in Photoshop can make your designs more dynamic and create depth by helping objects appear as if they’re floating above the background. In this step-by-step tutorial, I’ll guide you through creating a drop shadow effect in Photoshop. This covers everything from getting started to adjusting the settings for optimal results. To begin, open up the image or design where you’d like to add a drop shadow effect in Photoshop. Once it’s opened, ensure that the layer containing the object you want to apply the effect on is selected. Next, click on layer - layer style - drop shadow. This will bring up the layer style dialog box where you can edit and adjust various aspects of your drop shadow, such as opacity, distance, spread, size, and even change the color of the shadow. By using these options creatively and following this comprehensive Photoshop tutorial carefully, you’ll soon be able to use a drop shadow effect for any project or design need.
Using layer styles to create a drop shadow
Now that you’re familiar with drop shadows let’s explore how to use layer styles in Photoshop to create this effect with ease and precision. Layer styles are a powerful tool in Adobe Photoshop that allows you to apply various effects such as stroke, bevel and emboss, pattern overlay, and drop shadows. Using layer styles without manually creating the shadow shape, you can easily create a shadow for any object or text on your canvas. This method also provides more control over the appearance of the shadow by allowing you to customize its properties through the Layer Style dialog box. To get started with adding drop shadows using layer styles in Photoshop, follow these steps:
- Open your photo editing project or create a new one.
- Select the layer containing the object or text you want to add a drop shadow.
- Click on layer in the top menu bar, then choose layer styles and select drop shadow from the dropdown list.
- In the layer style dialog box that appears, adjust settings such as opacity (the transparency of your shadow), angle (the direction from which light appears to be cast), distance (how far away from your object or text), spread (how much area does it cover) and size (how blurred or sharp is it).
- Once satisfied with your adjustments, click OK to apply them. Here’s a quick bullet point list of what we covered:
- Utilizing layer styles in Adobe Photoshop.
- Applying various effects like stroke and pattern overlay.
- Creating precise drop shadows using the layer style dialog box.
- Customizing properties like opacity, angle, distance, etc., for better control over a blending mode.
- Save time by applying these changes directly within the layers panel. Experimenting with different combinations of settings will give you various creative possibilities when incorporating this technique into your photo editing projects. Don’t be afraid to play around until you achieve the right drop shadow effect for your design.
Edit and adjust drop shadow settings
Once you’ve learned how to add a drop shadow effect in Photoshop, you must familiarize yourself with the options available to edit drop shadow settings. In this section, you’ll explore how tweaking various settings can enhance the appearance of your drop shadows, giving them the perfect touch for your designs. This way, you’ll be able to create more realistic and visually appealing effects that seamlessly blend into your overall design.
Adjusting factors such as opacity, distance, size, angle, and spread can make all the difference in achieving the desired shadow look. To adjust these settings, double click the layer styles icon next to your layer containing the drop shadow effect. This will open up a dialog box where you can modify specific aspects of your shadow.
Start experimenting with opacity. Increasing or decreasing it will make your shadow more or less transparent, depending on what suits your design best. Next, try changing both distance and size to find an ideal balance between how far away from the object it appears and how soft or sharp its edges are. You can also alter the angle at which light hits your object by rotating the circular dial surrounding this option within the layer styles menu. Doing so may create a more natural-looking effect based on where light sources within your composition originate.
Don’t forget about color! You’re not limited to black shadows. Clicking on the color swatch beside blend mode brings up Photoshop’s color picker tool, which allows you to select virtually any hue imaginable. Remember that subtler shades generally work best when creating realistic shadows instead of bold contrasts against background colors already in your image.
Change the color of your drop shadow effect
Changing the hue of your shadow can bring a whole new dimension to your design, allowing you to experiment with various color combinations and create unique visual effects. This is surprisingly easy and can be done in just a few simple steps. First, ensure you’ve already applied a drop shadow to the layer in your Photoshop project that you want to modify. Next, double click on the fx icon next to the layer thumbnail in the layers panel, which will open up the layer style dialog box containing all your shadow settings. To change the color of your drop shadow effect, locate the shadow section within this dialog box and click on it to expand its options. Here, you’ll find an option for color, accompanied by a colored square representing the current color of your drop shadow. Click on this square to open up another window called color picker where you can adjust the color of your shadow as desired. If you’re working with multiple layers or need more freedom when choosing colors, consider creating a new transparent background layer above or below any existing layers and then applying your new drop shadow effect onto it from there using different blend modes available through dropdown menu options within the layer style panel’s shadow section settings. This allows even greater customization possibilities while maintaining clean image file organization throughout editing.
Responsive techniques for drop shadows in Photoshop
You’ll be amazed at how responsive techniques can transform your designs, giving them depth and dynamism like never before. The key to mastering drop shadow combining effects for stunning results is understanding the advanced tips for using drop shadow for text and shapes.
An essential aspect of creating a responsive drop shadow effect is to soften it according to the setting and distance from the light source in your composition. This can be achieved by adjusting the opacity, size, and angle of the drop shadow to match the overall lighting in your artwork. Doing so will create a more realistic and visually appealing object for your graphic design projects. Troubleshooting common issues with a drop shadow in Photoshop can seem daunting, but knowing how to use a drop effectively will elevate your graphic design skills. A typical issue designers face is achieving consistency when applying multiple shadows on different objects within a project.
To ensure uniformity across all elements, use consistent settings for each object while considering their relative position to one another and the light source. Considering these factors, you’ll create harmonious graphic designs with beautifully crafted drop shadows that enhance the visual appeal and boost professionalism.
Advanced tips for when using a drop shadow for text and shapes
It’s time to explore advanced drop shadow techniques for text and shapes to take your creations up a notch. One key to creating responsive drop shadows is understanding how filter settings affect your design’s appearance. The offset determines how far the shadow appears from the object, and blur impacts its sharpness. To apply adjustments, select your desired layer or shape in Photoshop, and navigate to layer - layer style - drop shadow (or double click on the layer). A panel will appear where you can modify settings. Experiment with blend modes like multiply or overlay for different shadow effects. Utilize hover effects when designing web interfaces by creating two separate layers - one for the normal state of an element (e.g., a button) and another for its hover state with an enhanced drop shadow effect. Users will see a smooth transition between states, adding depth to your designs. Photoshop’s slider feature within the drop shadow panel is invaluable when working with interactive elements. Adjust sliders like angle or distance for real time feedback on how changes impact your composition. Armed with these advanced tips, get ready to surprise and delight audiences across all devices.
Create a realistic shadow effect with custom brushes
Ready to amp up your shadow game even further? Let’s explore crafting realistic shadows using custom brushes. This method allows for greater control and customization of the shadow, making it perfect when you need something extra to make your Photoshop project stand out. Custom brushes can help achieve that hovering effect and cast a shadow with more precision than the standard drop shadow filter. Here are three essential tips to level up your skill in creating realistic shadow effects with custom brushes.
- Please pay attention to the element’s edge - the interaction between the object and its cast shadow is crucial. To create a convincing illusion of depth, use a soft round brush around the edges where the object meets the drop shadow or gradually increase the hardness as you move away.
- Experiment with different brush settings - when applying drop shadows, don’t be afraid to play around with opacity, flow, angle, and other brush settings in Photoshop. Adjusting these parameters will give you complete control over how light interacts with your subject matter and create that perfect hovering effect.
- Add shadows inside your subject - for an extra touch of realism, consider adding subtle shadows inside certain areas of your object. This creates an impression that your Photoshop layer is hovering above its background and has depth within itself. Remember that practice makes perfect, so don’t hesitate to experiment and try new techniques until you find what works best for you. With patience and persistence, you’ll soon master applying the drop shadow effect in Photoshop using custom brushes.
Perfecting drop shadows and combining effects for stunning results
Imagine the jaw dropping visuals you can create by combining various drop shadow techniques for stunning results. By layering different drop shadow effects, adjusting the shadow’s opacity, and using Photoshop’s powerful tools like multiply and feather, you’ll be able to bring your designs to life in no time. When done correctly, a well placed drop shadow can make your subject stand out from the background while giving an impression of depth and dimensionality. The key is to consider how each element interacts with one another. Ask yourself, where is the light source coming from? How would it affect the shadows placement and intensity?
Add a primary drop shadow to your main subject’s Photoshop layer to achieve stunning results. Play around with settings such as distance, size, and angle until you find what looks most natural for that specific image. Then duplicate this layer, but change the blending mode of the new drop shadow to multiply. This will add some richness and depth to your original shadow without making it look too heavy or unrealistic. Next, add a subtle feathered edge to both shadows so they blend seamlessly into their surroundings. This softens any harsh lines or angles that might otherwise distract from your design’s overall aesthetic.
Remember, combining effects effectively takes practice. But once you’ve mastered these techniques in Photoshop, there’s no limit to what you can create, so don’t be afraid to push boundaries and explore new creative possibilities.

Troubleshooting common issues with drop shadows in Photoshop
While mastering drop shadow techniques can lead to stunning results, it’s not uncommon to encounter a few hiccups. So let’s tackle some common issues and their solutions. One problem you might face is the drop shadow not blending well with your project, making it look unnatural or out of place. To fix this issue, try adjusting the opacity of your drop shadow to make it more subtle or change the type of Photoshop layer to help give a softer effect. Another issue you may encounter is inconsistencies in how different elements in your project cast shadows. Here are three steps to ensure that the shadows all match.
- Pay attention to the angle and distance from which light appears to be hitting your scene as this will affect where the top of the shadow begins on each element.
- Ensure that the edges of your shadows have a consistent level of softness or hardness. This can be adjusted using Photoshop’s layer styles options.
- Ensure that any objects underneath others receive proper shading. If an object casts a shadow but isn’t receiving one from another object above it, adjust its layer style accordingly. By addressing these common issues and fine tuning details like light direction and edge quality, you’ll create an impression that each layer within your project is hovering and casting realistic shadows onto those beneath them. The result? A cohesive design with depth and dimension that truly captures viewers’ imaginations.
Summary
In the end, perfecting the drop shadow effect in Photoshop is like having a magician’s wand at your fingertips. With just a few clicks and adjustments, you can transform flat images into visually striking masterpieces that pop off the screen. Now that I’ve honed my skills in creating realistic shadows and adding depth to text and shapes, there’s no stopping me. I can craft eye catching designs and let my creativity run wild. I’m pushing the boundaries of what’s possible with this powerful tool.
Drop shadows in Photoshop FAQ
What is a drop shadow?
A drop shadow is a visual effect added to an image or text to create the illusion that the object is hovering and casting a shadow onto the surface below it.
How do I use a drop shadow in Photoshop?
To use a drop shadow in Photoshop, select the layer to add the shadow. Then, go to the layer styles menu and select drop shadow. You can adjust the shadow’s settings from there to make it look how you want.
Can I create drop shadows in Photoshop without using the layer styles menu?
You can create drop shadows in Photoshop using the brush tool to paint a shadow onto your image or text. However, this method may not be as precise or give you as much control over the shadow’s settings.
How can I make a drop shadow look natural?
Pay attention to the lighting in your image to make a drop shadow look natural, and try to recreate how light would naturally cast a shadow. You can also use the layer styles menu to adjust the shadow’s opacity and angle.
What are some ways to adjust the settings of a drop shadow?
You can adjust the opacity, angle, distance, and size of a drop shadow using the settings in the layer styles menu. You can also fine tune the lighting by adjusting the shadow’s color or adding a gradient.
What is the spread setting in the drop shadow menu?
The spread setting in the drop shadow menu controls how soft or hard the edges of the shadow are. A higher spread value will make the edges of the shadow more diffuse, while a lower value will make them sharper.
How do I make an object appear to be hovering using a drop shadow?
To make an object appear to be hovering and casting a shadow in Photoshop, add a drop shadow to the object and adjust the angle and distance so that the shadow appears to be touching the surface below the object.
Can I use a drop shadow to make an object appear three-dimensional?
Yes, you can use a drop shadow to help give the impression that your image exists in a three-dimensional space. Adding a drop shadow to an object and adjusting its settings can create the impression that a layer is floating above or below another layer.
How can I add a drop shadow to a specific part of my image?
To add a drop shadow to a specific part of your image, you can create a new layer and use the brush tool to paint a shadow onto that layer. Then, adjust the opacity and angle of the shadow to make it look like it is coming from the object you want it to appear on.
Can I combine drop shadows with other effects, like gradients or textures?
You can use a drop shadow and other effects to create a unique look for your Photoshop project. For example, you could use a drop shadow and a gradient to make it look like an element is glowing or a texture and a drop shadow to make an element look more tactile.